Free Email Signature Generator

Easy-to-use email signature maker

Professional templates

100% Free
Email signatures are more than just blocks of text.
Case in point: 48% of marketers use them to drive website traffic.
For sales outreach, not having an email signature means getting fewer replies and ultimately generating less revenue.
So, how can you create a custom email signature that boosts your professional image and drives results?
You can get a personalized email signature in a few clicks with lemlist’s free email signature generator.
How to create an email signature with lemlist’s free signature generator ✍️
We think this is the best free email signature generator.
Why?
lemlist’s Email signature creator is extremely easy to use, and the results are great.
It only takes 3 steps to create a professionally looking email signature:
1 - First, take a look at the available templates. Once you find a layout you like, click the Choose this template button.
Why?
lemlist’s Email signature creator is extremely easy to use, and the results are great.
It only takes 3 steps to create a professionally looking email signature:
1 - First, take a look at the available templates. Once you find a layout you like, click the Choose this template button.

2 - Add your personal & business info, photo (or company logo), contact info, and social media links. Also, include any accounts where you or your business have a social media presence.
If you don’t want to add your phone number, address, or any other information, click the Hide icon next to its field.

3 - Once you type all relevant information, click on Continue.
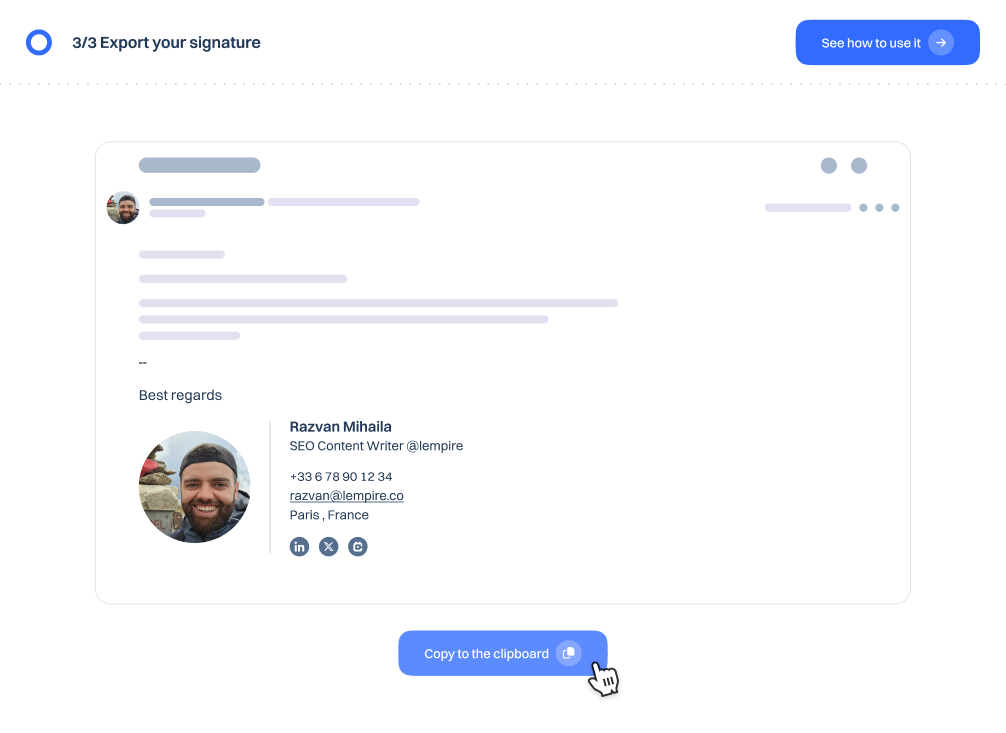
lemlist will now generate your email signature. Click on Copy to clipboard to export your signature.
lemlist will now generate your email signature. Click on Copy to clipboard to export your signature.
How to add your generated email signature to Gmail
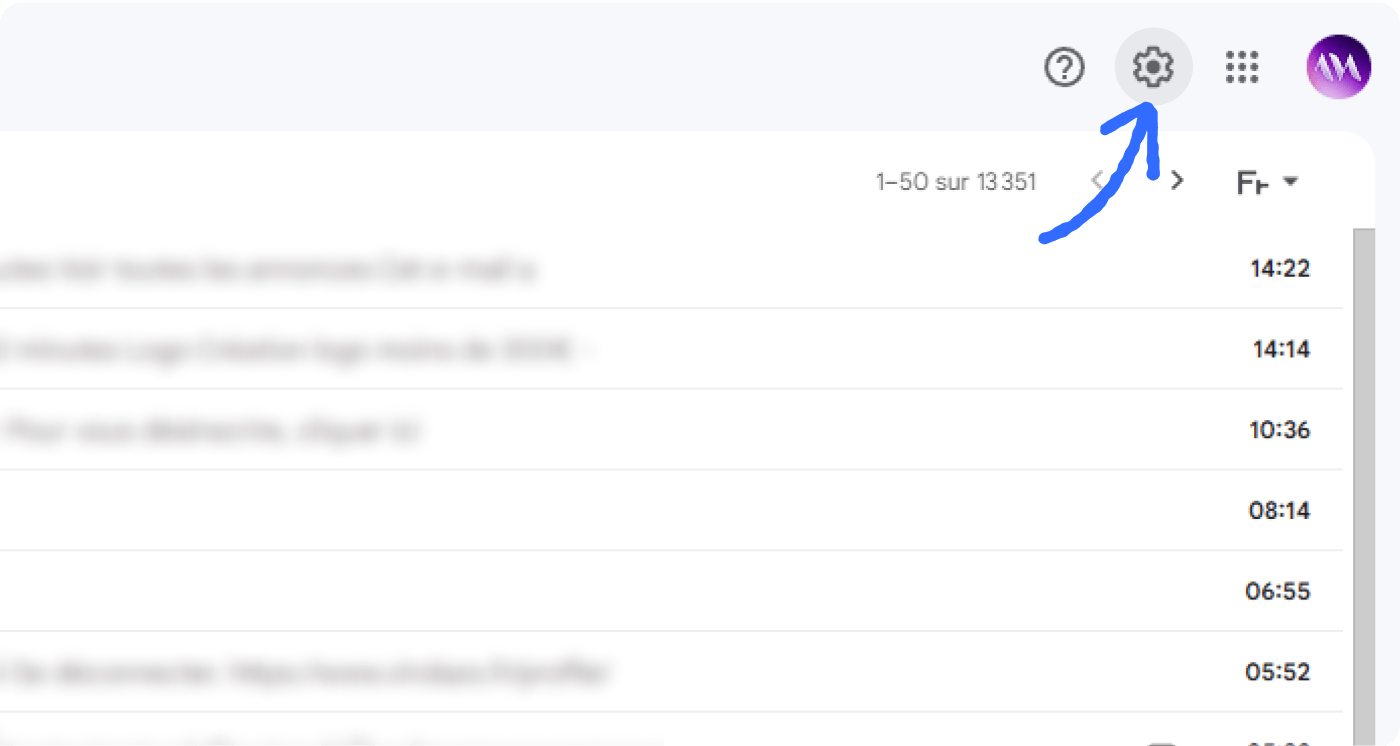
Log in to your Gmail account and click the gear icon in the top right corner.
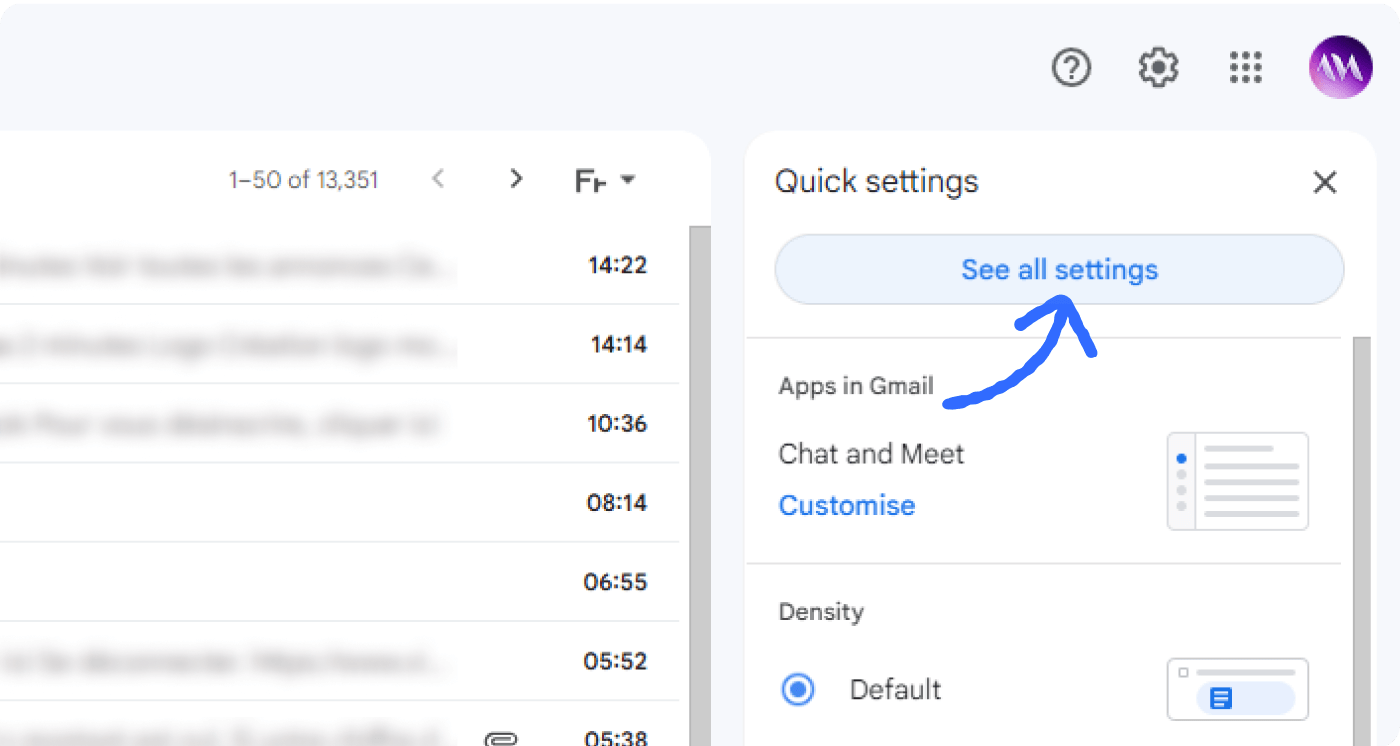
Select "See all settings" from the drop-down menu.
Scroll down to the "Signature" section and enter your desired signature into the text box. The “Signature” section is in the “General” tab of Settings.
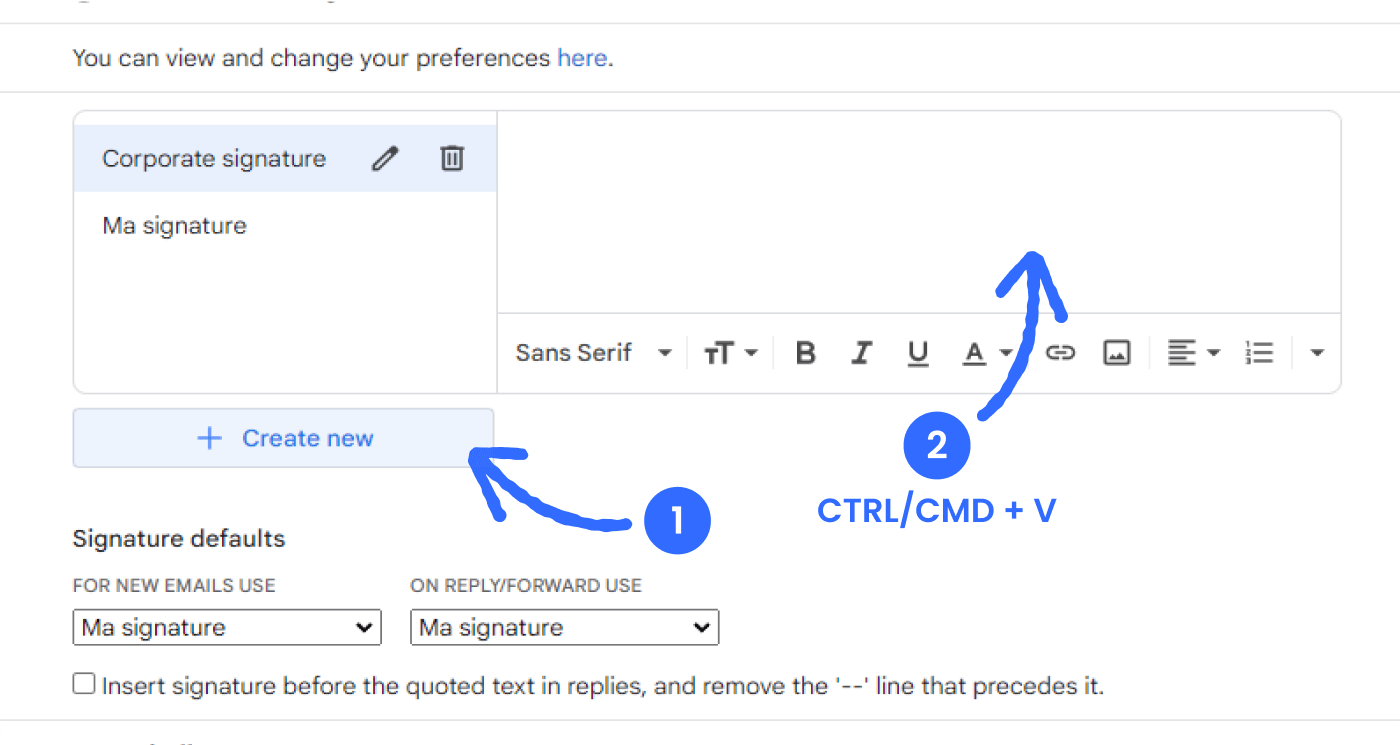
If you want your signature to appear only on certain types of messages (such as new messages or replies/forwards), navigate under “Signature defaults” and make your selection.

Once you're happy with your signature, scroll down to the bottom of the page and click "Save Changes."
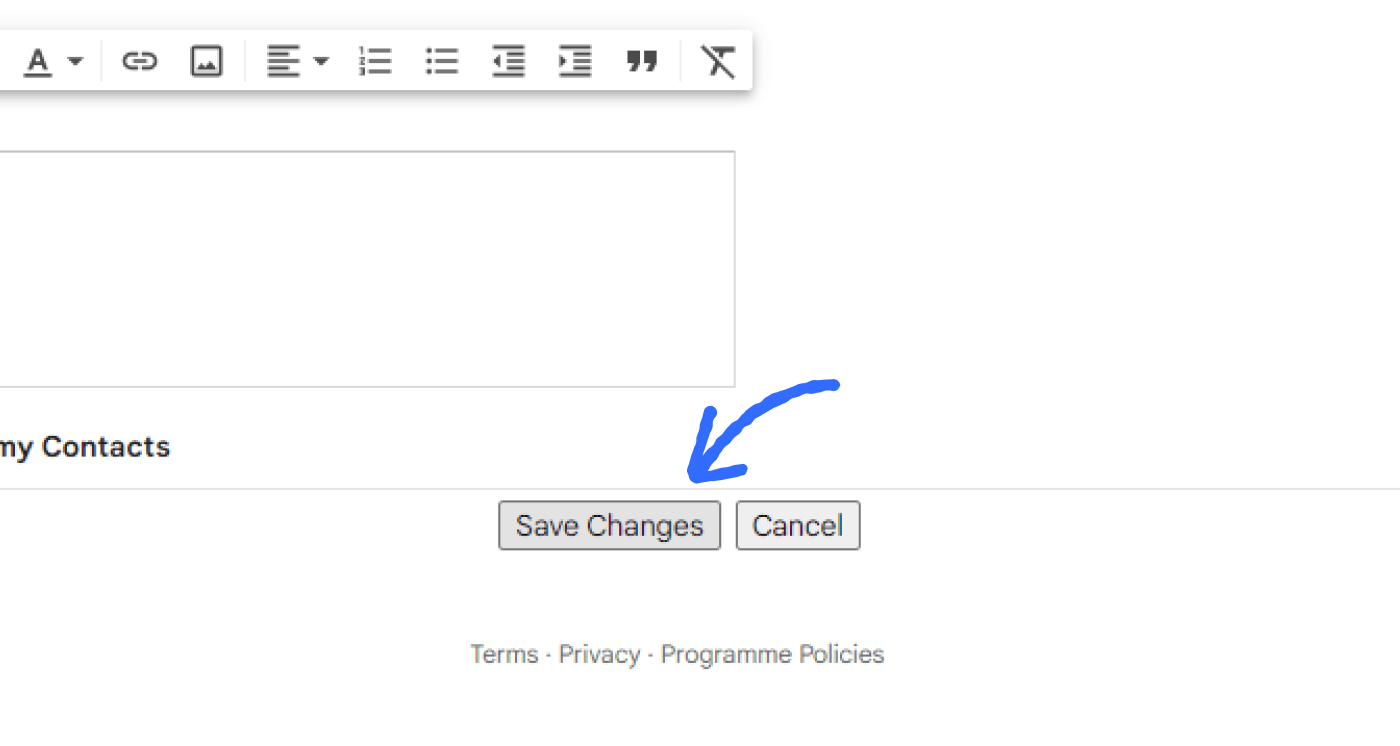

And that's it! You've now successfully added a signature to your Gmail account.
How to add your generated email signature to Outlook
Log in to your Outlook account and click on the gear icon in the top right corner.
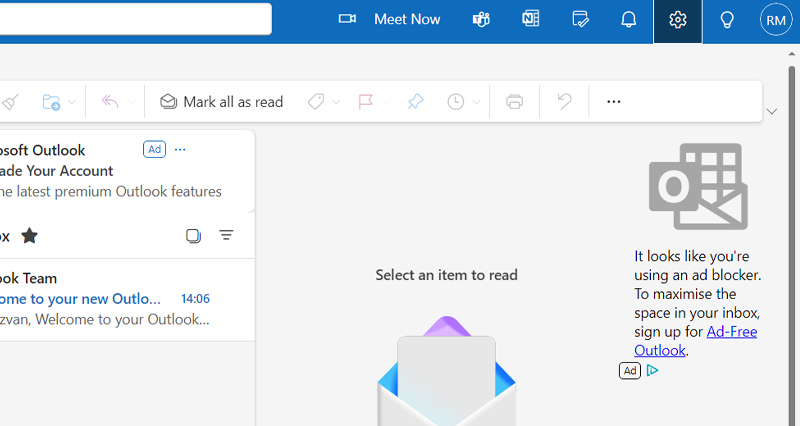
Select “Email” from the left-hand menu.
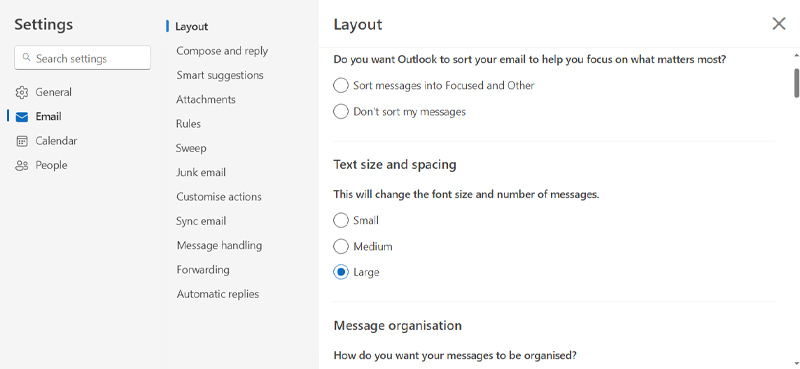
Click on “Compose and reply” to add your signature.
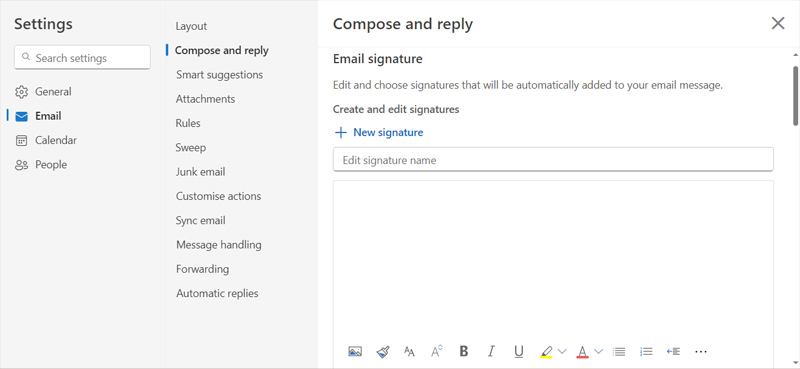
Select “New signature”, add a name, and copy your signature.
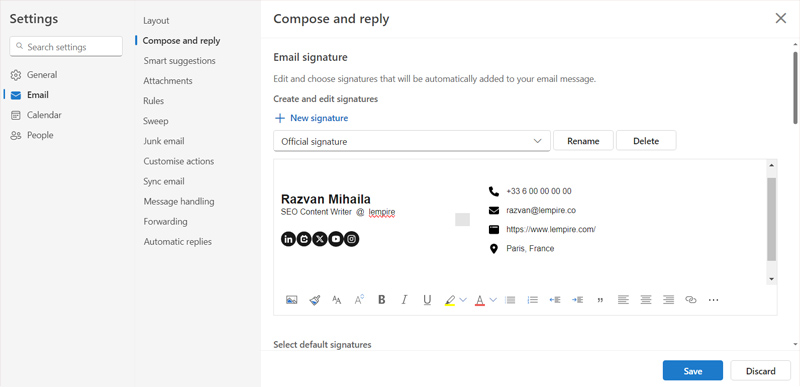

Click the “Save” button to add your new signature.
How to add your generated email signature to Yahoo Mail
Log in to your Yahoo Mail account and click on the Settings icon.
Select “More settings”.
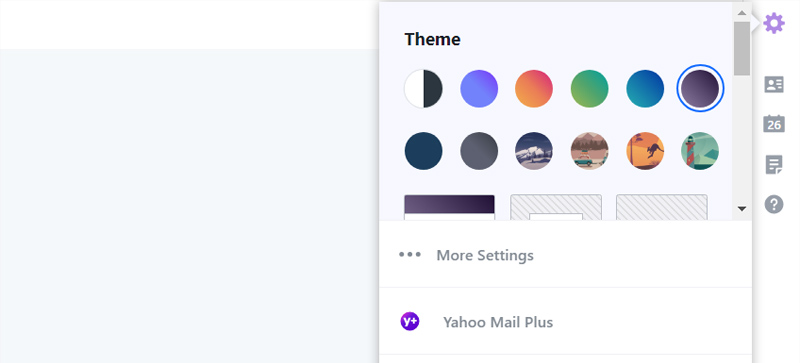
Click on “Writing email”.

Turn on the toggle below “Signature” and paste your new email signature. Yahoo Mail will preview the signature for you.
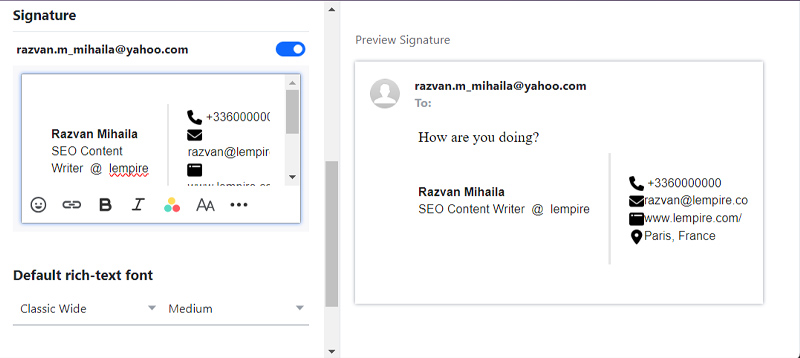

That’s it! You’ve successfully added your email signature to your Yahoo Mail account.
Why are email signatures important? ⚠️
Having an email signature isn’t just an aesthetic way to end your emails.
Here are the benefits of having a personalized email signature:
💼 Leave a professional impression: A well-crafted email signature gives off a professional impression. Apart from the boost of perceived professionalism, it also shows you took the time to provide the recipient with useful contact info and links.
📢 Raise brand awareness: Every time you send an email that ends with your signature, you can remind your leads or prospects about your business and offerings
👥 Get more followers: Adding your social media accounts to your email signature makes it easy for prospects to connect with you through multiple channels. Good to expand your network and for having a casual conversation or two.
📨 Get more replies: With a clearly visible email address in the signature, you tend to get more replies. Your email signature gives them quick access to your details so you can easily get back to you.
🤝 Enhance credibility and trust: A well-designed email signature adds legitimacy to your communications. It reassures recipients that you're a real professional or established business.

How to add your email signature to lemlist
Here’s how to add your new email signature to sales engagement platform lemlist.
Adding your signature to your campaigns means you won't have to copy and paste it to all emails manually.
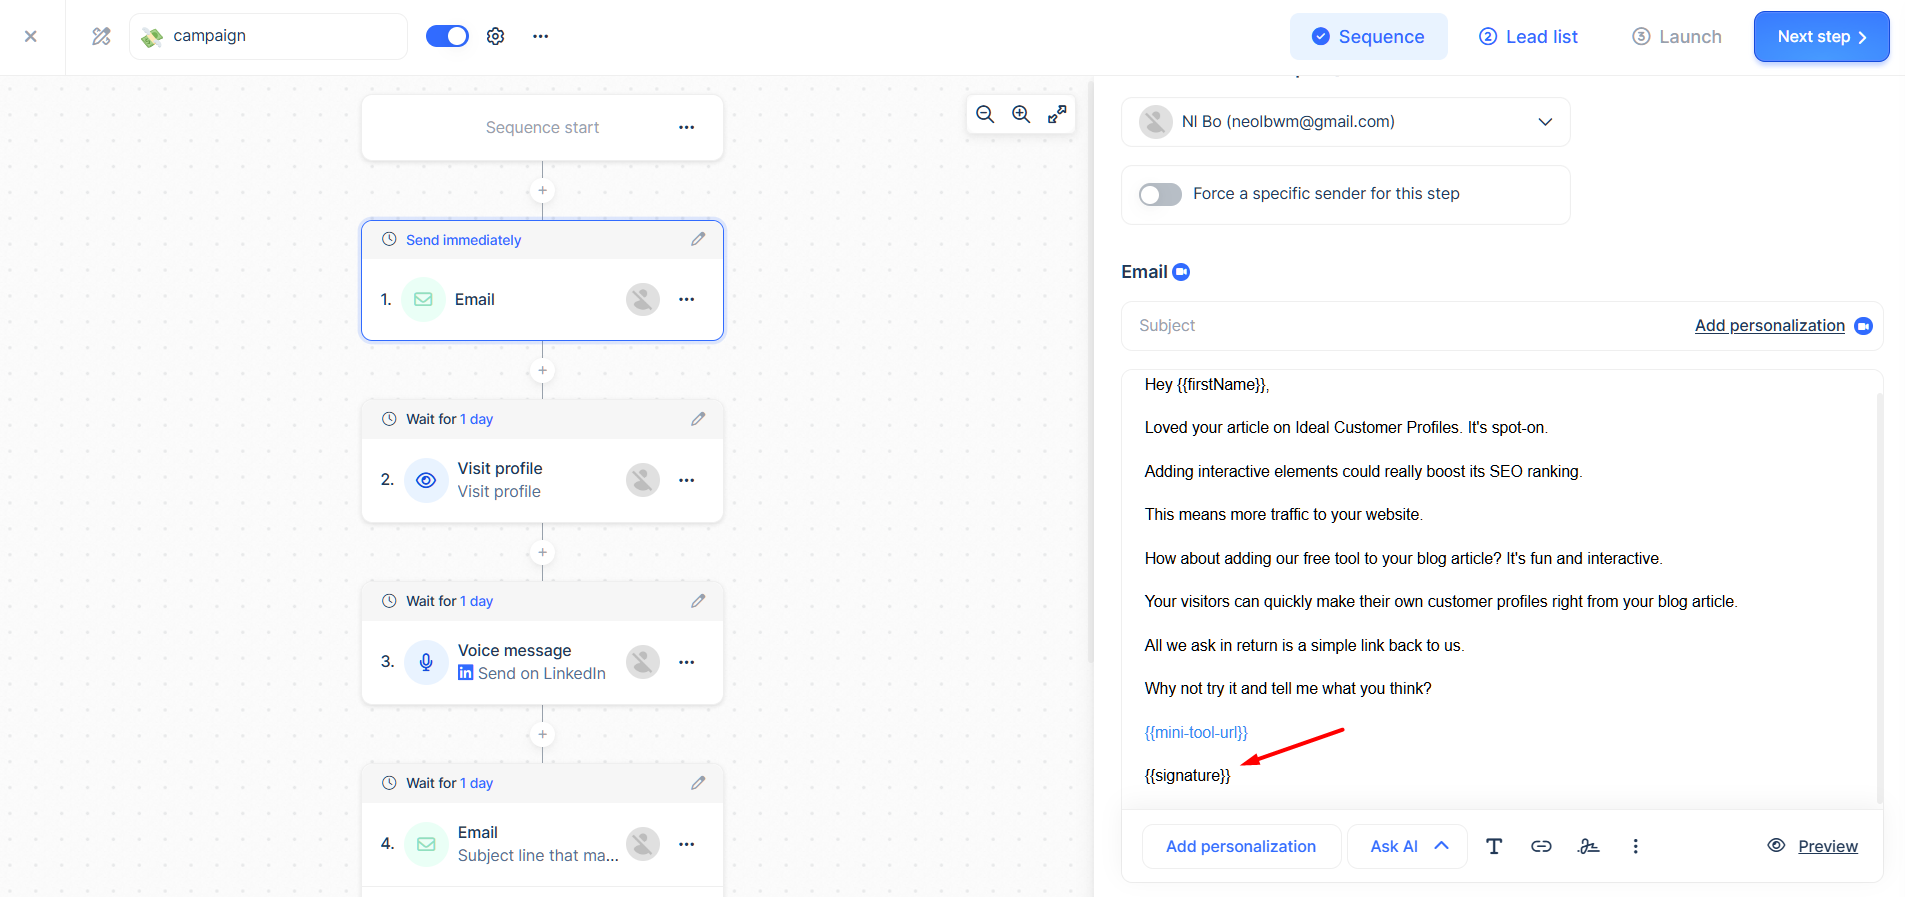
You just add the {{signature}} to wherever you want it to appear, and you’re done.
Step 1: ➡️ Generate your signature above if you haven’t already.
Step 2: ➡️ Go to settings in your lemlist account and then click on sending settings.
Step 3: ➡️ Scroll down to Email signature and paste your signature in the field below.
.png)
Step 4: ➡️ Add the {{signature}} to the campaign where you want your signature to appear.
Make your emails stand out
Adding an email signature is an effective way to reinforce brand identity.
Also, it allows your recipients to connect with you through their preferred channels.
For a more proactive approach, consider using lemlist.
You can connect with your prospects through email, cold calling, LinkedIn, and more - all personalized and automated.
Test lemlist’s multi-channel outreach sequences through its 14-day free trial - no card required.
No credit card required
Finden Sie Leads mit verifizierten E-Mails, schreiben und personalisieren Sie in großem Umfang und gewinnen Sie Kunden mit
